


今回は画面フローで取引先を新規作成する機能を実装してみました。
フロー初心者の方にも分かるように手順を追って解説しているので、ぜひ参考にしてみてください。
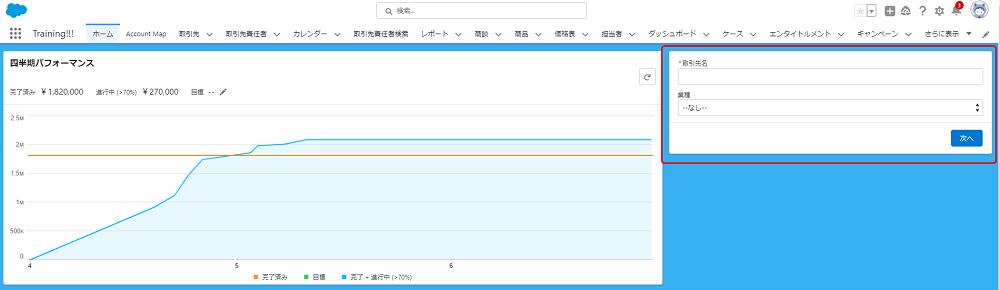
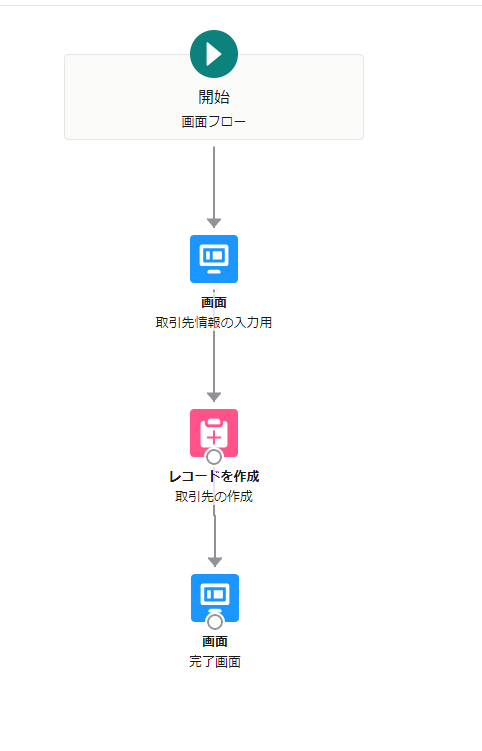
完成イメージ
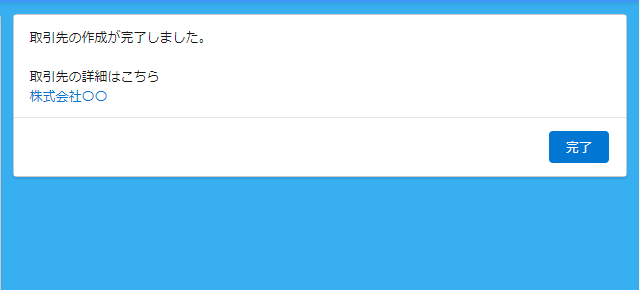
ホーム画面に取引先作成用のフローを設置し、作成後は作成した取引先に遷移するリンクを表示します。
フローの作成
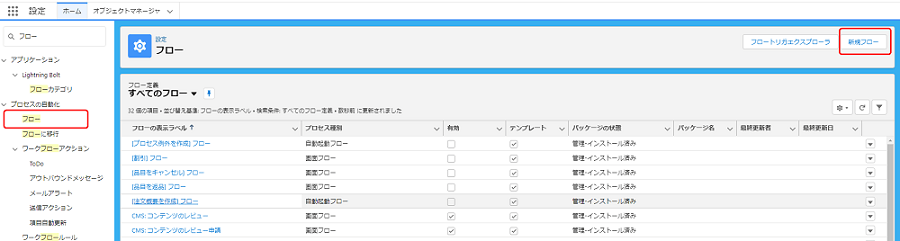
設定のクイック検索に「フロー」と入力し、フローを選択。
右上の「新規フロー」ボタンを選択します。
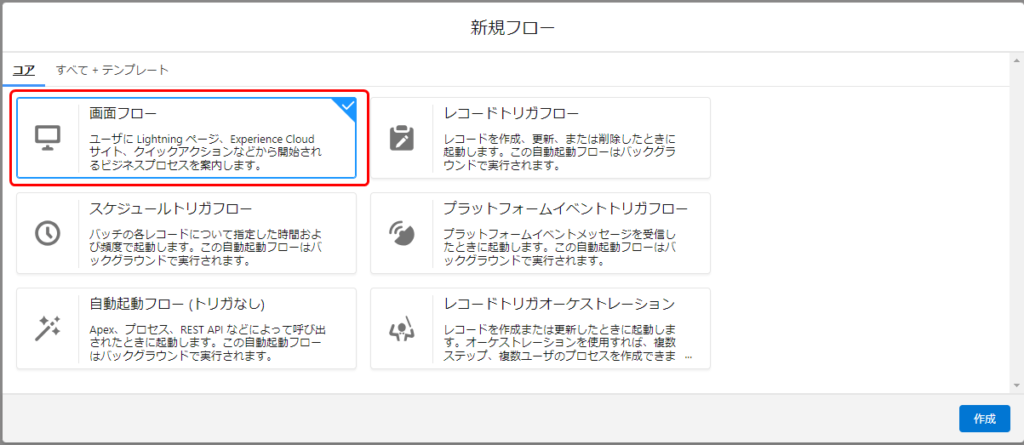
「画面フロー」を選択し、「作成」をクリック。
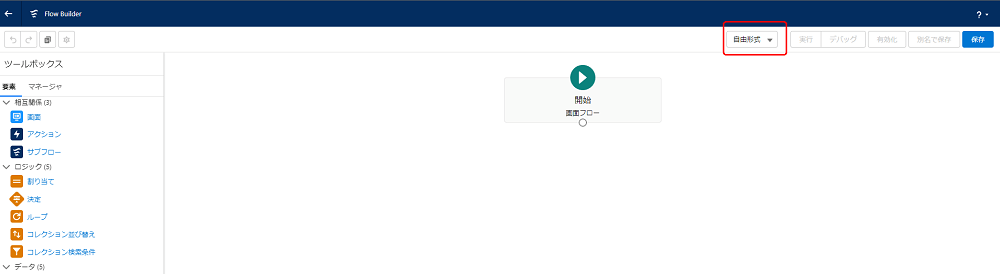
レイアウトを「自由形式」に変更します。
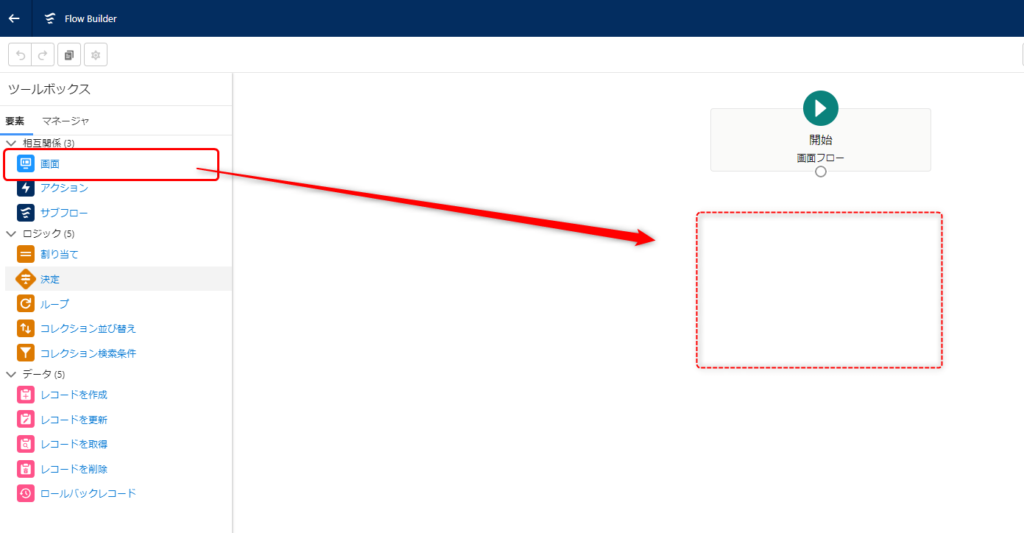
ツールボックスの要素から「画面」を選択して、キャンバスにドラッグ。
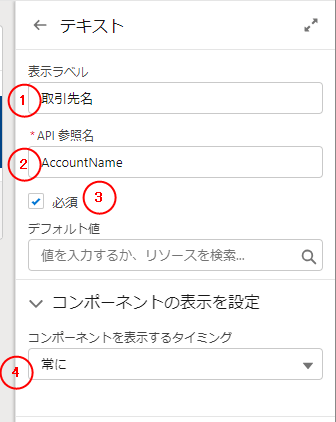
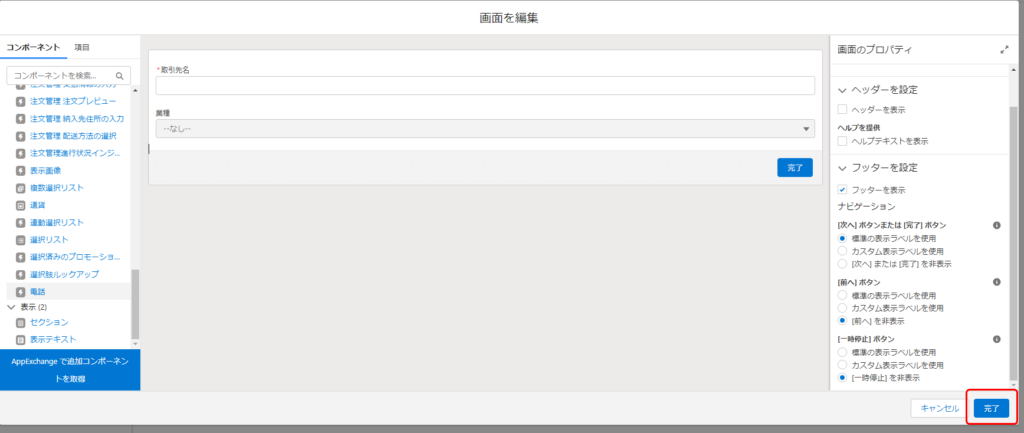
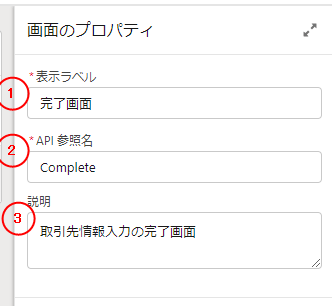
「画面プロパティ」の①~③に値を入力します。

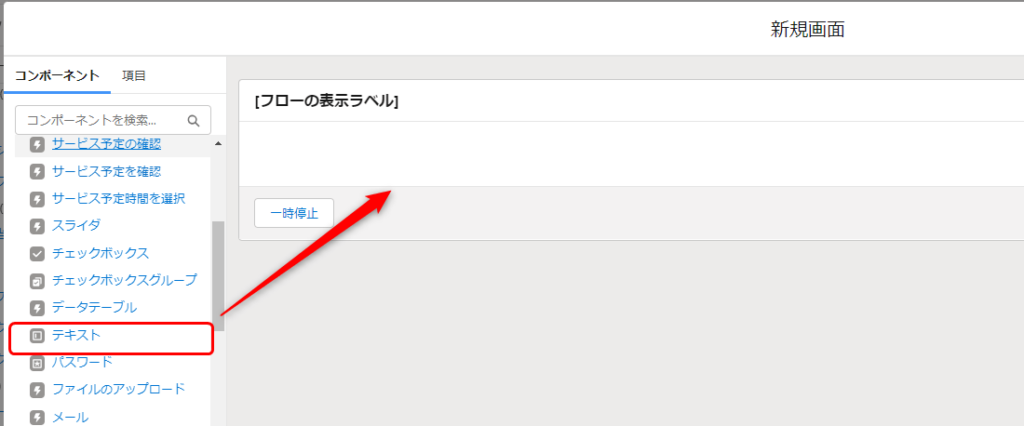
「コンポーネント」から「テキスト」を選択し、画面のメインエリアにドラッグ。
①~④に値を設定します。
「コンポーネント」から「選択リスト」を選択し、画面のメインエリアにドラッグ。
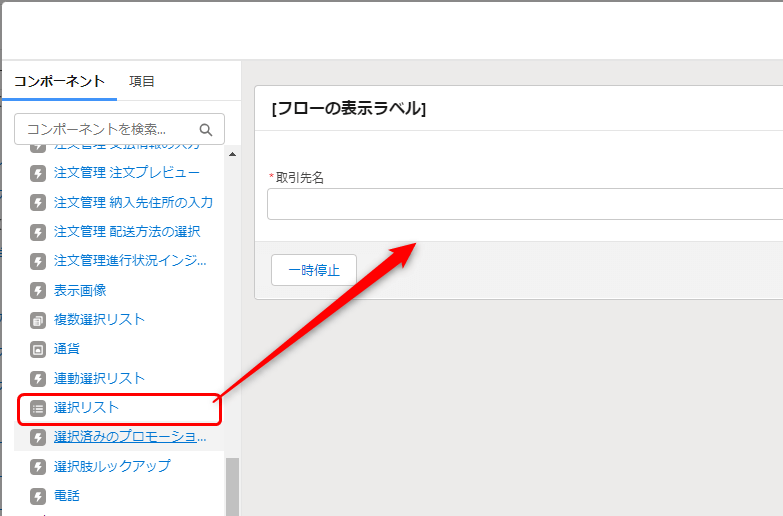
①~⑥に値を設定します。
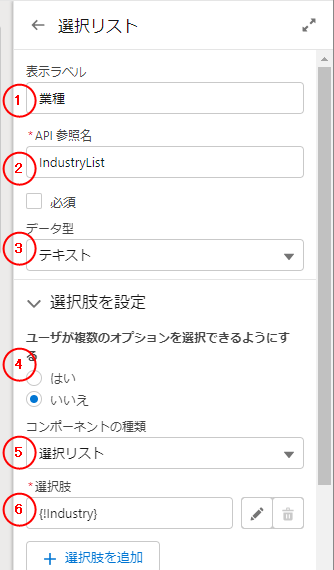
⑥については、「新規選択肢リソース」を選択後、以下の情報を入力。
 Abo
Abo取引先オブジェクトにある「業種」項目の選択リスト値を取得して使用します。

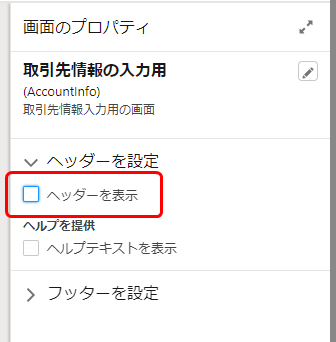
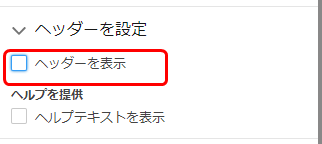
「ヘッダーを設定」にて「ヘッダーを表示」のチェックを外します。
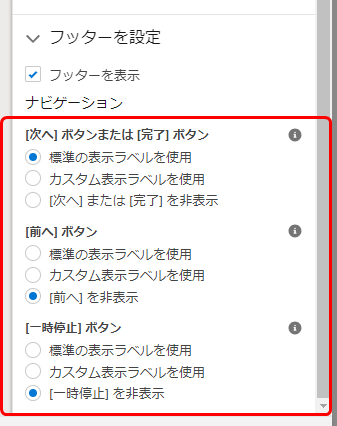
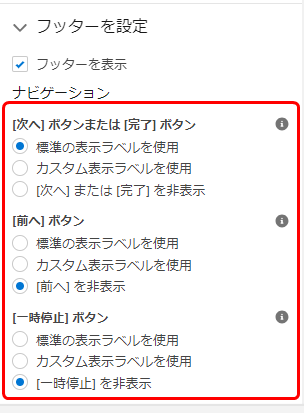
「フッター設定」にて「完了」ボタンのみを表示させます。
「完了」をクリック。
 Abo
Aboここまでで取引先情報を入力する画面ができました!
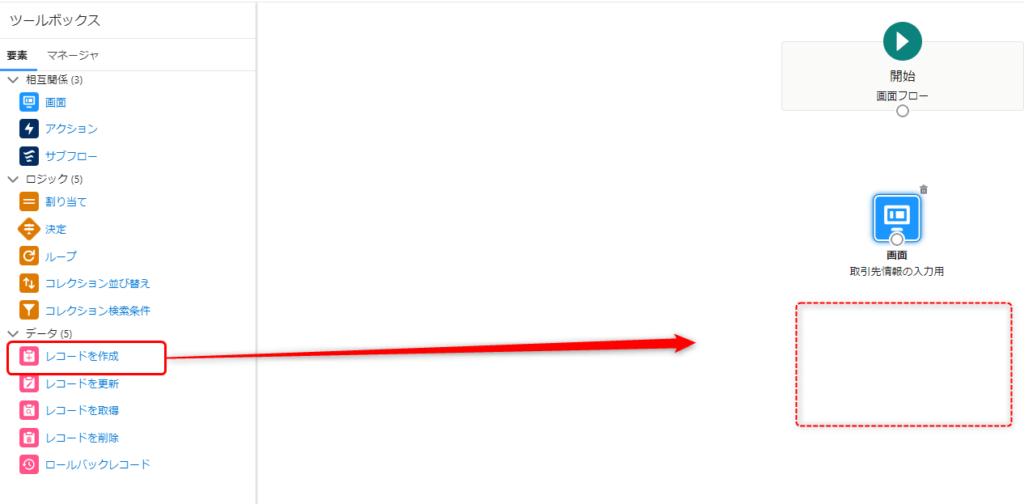
次は入力した取引先情報を作成する処理を作っていきます。
ツールボックスの要素から「レコードを作成」を選択して、キャンバスにドラッグ。
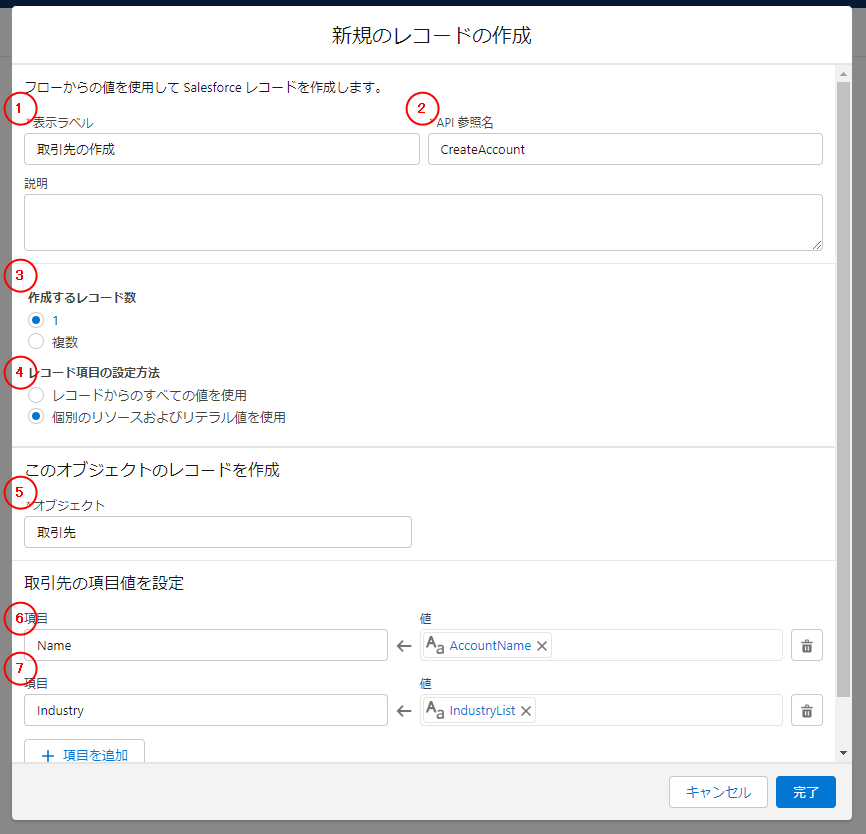
①~⑦に値を設定し、「完了」をクリック。
Abo⑥⑦では、画面で入力した値を取引先のNameとIndustryに格納することを設定しています。
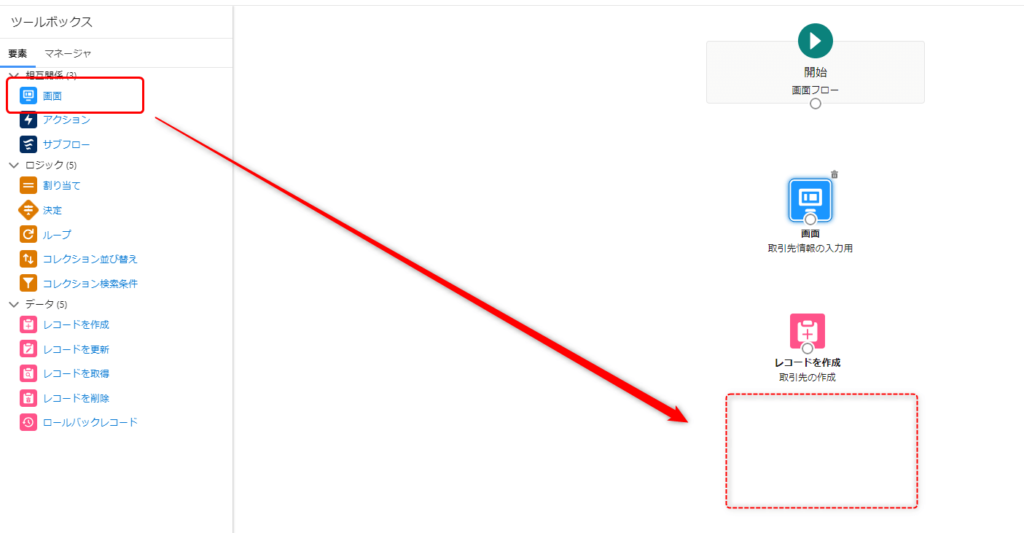
ツールボックスの要素から「画面」を選択して、キャンバスにドラッグ。
「画面プロパティ」の①~③に値を入力します。
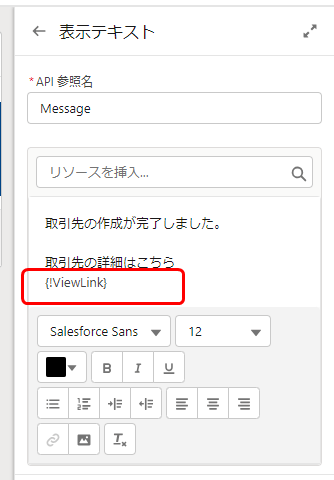
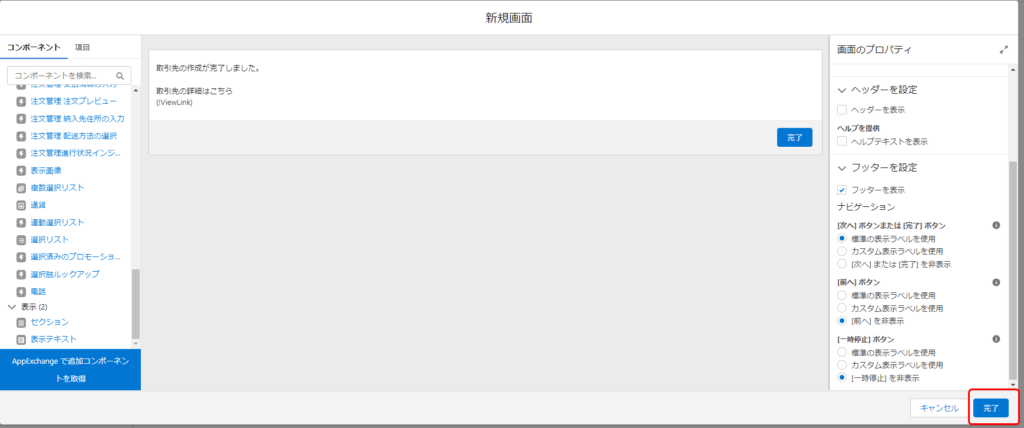
「コンポーネント」から「表示テキスト」を選択し、画面のメインエリアにドラッグ。
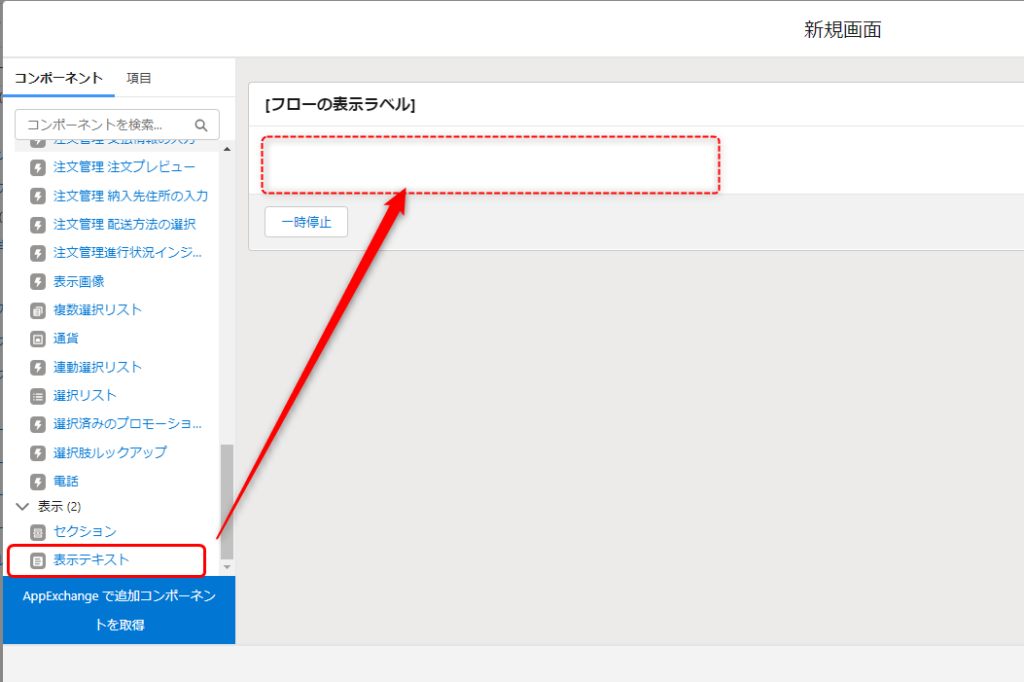
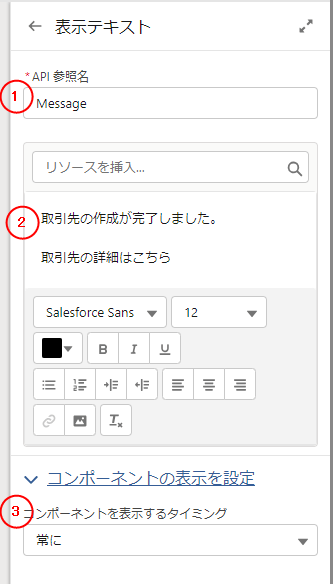
①~③に値を入力します。
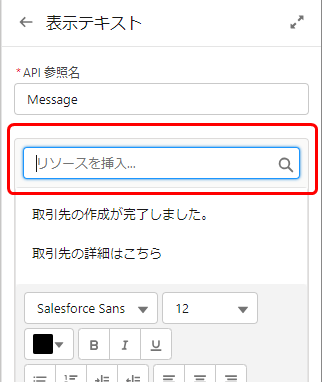
「リソース」を挿入を選択。
「新規リソース」を選択し、①~⑤を入力します。
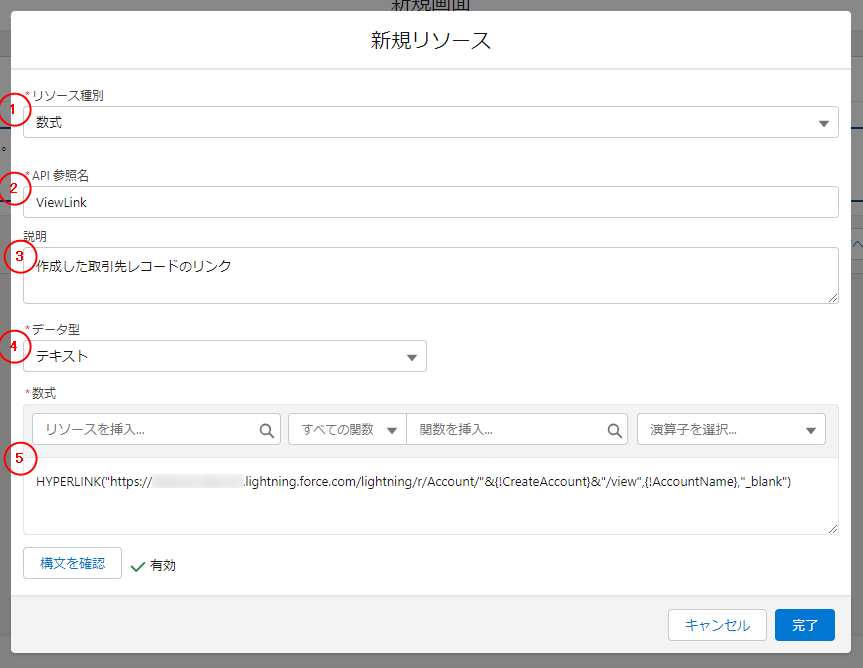
HyperLink(“URL”,リンク名,”リンクの開き方”)
作成したリンクが「取引先の詳細はこちら」の文言の下に配置されていることを確認。(配置されていない場合、コピペで配置します。)
「ヘッダーを設定」にて「ヘッダーを表示」のチェックを外します。
「フッター設定」にて「完了」ボタンのみを表示させます。
「完了」をクリック。
「〇」をドラッグしてつなげたい要素に接続する。
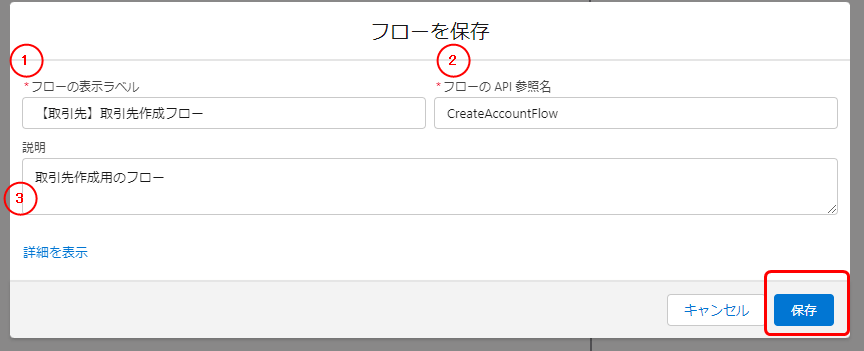
画面右上の「保存」をクリック。

①~③を入力し、「保存」をクリック。
作成したフローが正しく機能するか、有効化する前に確認すること。
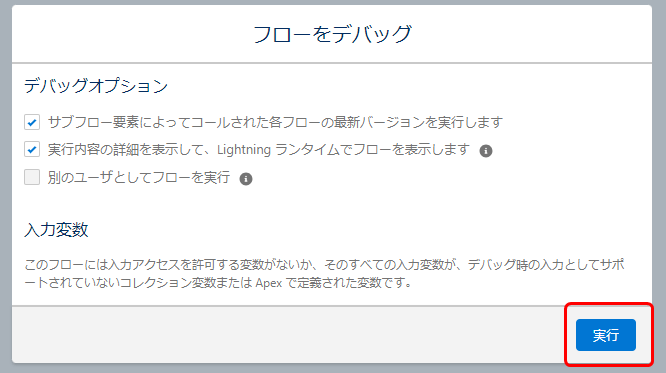
「デバッグ」をクリック。
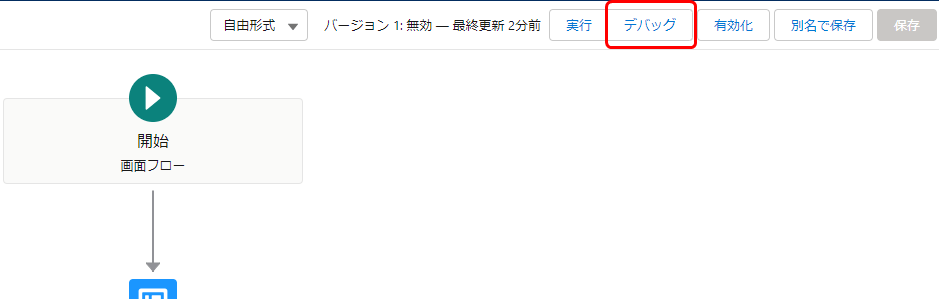
「実行」をクリック。
値を入力して、「次へ」をクリック。

このように表示されていれば成功です。

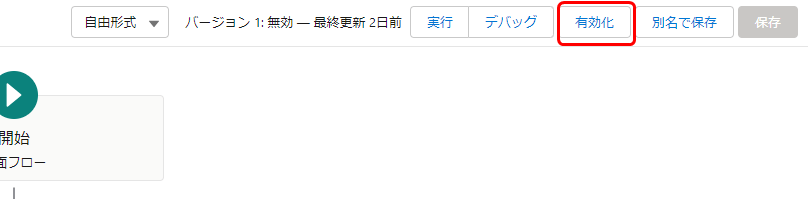
「有効化」をクリックし、フローを使用可能な状態にします。
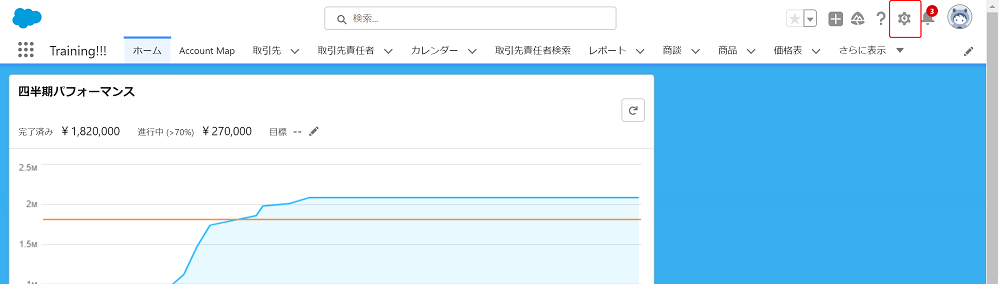
ホーム画面にて、歯車アイコンをクリックし「編集ページ」をクリック。
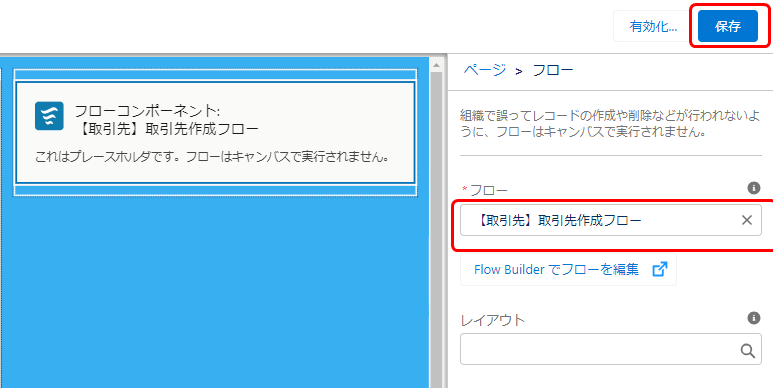
コンポーネントからフローを選択し、レイアウト上にドラッグ。

先ほど作成したフローを選択し、ページを保存します。
以上でフローの作成は完了です!
Abo画面から取引先を作成してみましょう!
まとめ
今回はフローを使って取引先作成画面を作成しました。
プログラムで今回のような作成画面を作るとなるとそれなりに時間がかかるのですが、フローを用いることでノーコードで簡単に実現することができます。
ただ、要素の組み立てやリソースの作成などについては慣れるまで少し時間がかかると思いますので、いろいろ自分で試してフローを作成してみることをオススメします。
おわりです。


コメント